Different types of attachment ports
by Evan Dave
FTC Team #27883
The attachment port is where your attachments connect to the motors. There are many different types, each with their own pros and cons, that will suit different robots best. However, the most important feature is that you can change the attachments quickly – this is integral to saving your limited time in the robot game.
Here are a few types of attachment ports. Spike Prime advanced drive base (unrecommended)
This is the attachment port found in the Spike Prime advanced drive base, created by Lego education. You can find instructions for the whole drive base here: https://education.lego.com/en-gb/lessons/prime-competition-ready/assembling-an-advanced-driving-base/
…the instructions for just the attachment port here: https://assets.education.lego.com/v3/assets/blt293eea581807678a/bltbaec24f63e4075fc/5ec8e806f555a00375660930/advanced-driving-base-bi-pdf-book4of5.pdf?locale=en-gb
…and the instructions for the attachment here: https://assets.education.lego.com/v3/assets/blt293eea581807678a/blt93af2e55087807c6/5ec8e99a6b4f987c36ce7603/lift-arm-bi-pdf-book1of1.pdf?locale=en-gb
This is how it’s used:
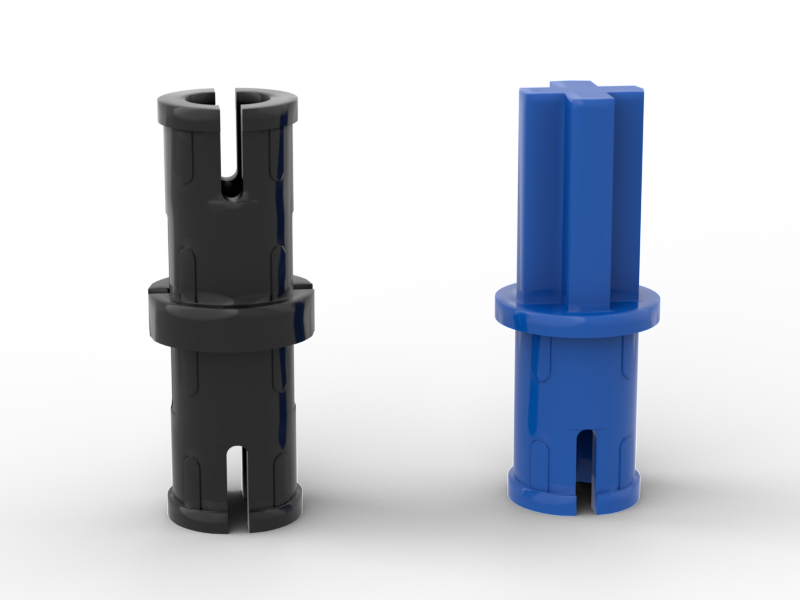
The frame of the attachment slots into the large pink frame of the attachment port so that their gears mesh. To secure the attachment, 2 pins are used. The reason it is unrecommended is because it takes a long time to change attachments and lots of fumbling with the pins. However, if you already have this attachment port, you can always upgrade it so that the pins at the front are not required.
Spike Prime advanced drive base upgraded
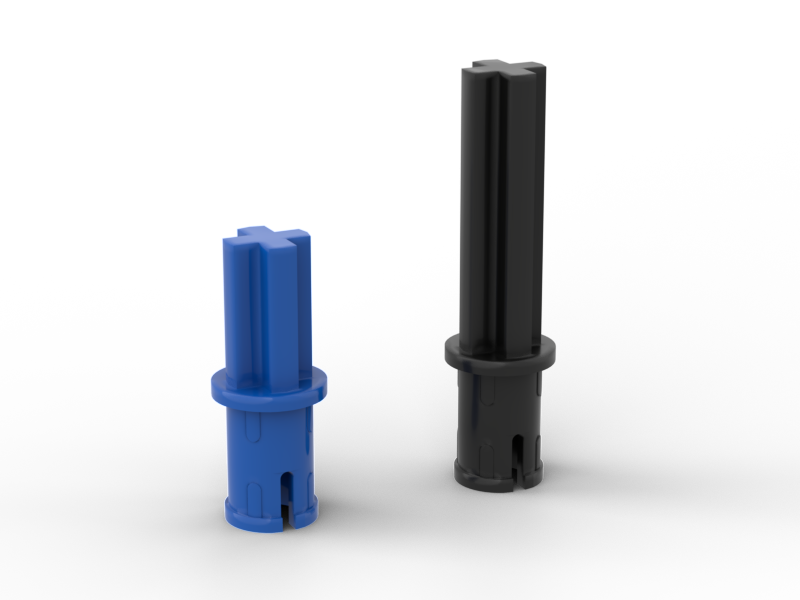
You can change the attachment port so that you don’t need to use pins to secure the attachments. These attachments can be slipped on and taken off quickly.
If you are using the advanced drive base, it is highly recommended that you make these modifications to the attachments to save time. There are multiple different ways you could go about doing this, here are 2:
Now changing attachments is much faster.
Builderdude35’s dog gear attachment port
Builderdude35 is an awesome youtuber who has made many extremely useful guides for FLL. He has also created a type of attachment port that is extremely useful for vertically mounting attachments using dog gears.
Here is his channel: https://www.youtube.com/@Builderdude35
Here is his video about dog gears: https://www.youtube.com/watch?v=NZbt3tnySyI
Here is a video about how to build the attachment port with the Spike prime kit: https://www.youtube.com/watch?v=b3D10WKovfw
The most versatile attachment port (in my opinion)
This attachment port consists of 2 motors at the front of the robot placed side by side. Each motor has a gear that points upwards and can mesh with the gears of the attachments. The attachments can be slipped on/taken off without the use of pins, and you can power 2 different motorised attachments in one because the motors are right next to each other.
There are many different ways you can create this. If you look on youtube, you may notice many teams opt to use this attachment port configuration.
For different robots, there will be many different ways to build this that suit each specific robot the best.
Here is what the attachment port could look like:
These attachment ports combine very well with a box structure (we will write an article about how to make one soon probably.)
There are many different ways you could build these that suit different robots’ shapes better. You could change the spacing between the 2 motors, the gears that they are attached to and also the pinholes that connect to the attachment.
These blue pins at the bottom of the attachments allow them to be put on and taken off quickly, rather than the small black pins:
Also, using the longer versions of the blue pins instead allows the attachments to stick deeper into the attachment ports:
This lets the attachment rest more securely in the attachment port.
I hope this helped you decide the best attachment port for your robot. Personally I am rather ‘attached’ to the last one hehe.